#QTMBA – EP1
There are some scenarios where you would require to add in new custom fields to track additional details in Dynamics 365 for Finance and Operations. This feature “Create New Field” was enabled from the platform update 13 and it was great feature addition to the system and it enables to add custom fields directly using the user interface.
With the introduction of version 10.0.9 there is a new feature which enables in D365 Finance and Operations to add a custom field and then expose this custom field in data entity. Furthermore, data entities are utilized in the office integration overview feature, data import and export scenarios and we can also display it in the Power Apps too. Let’s look at exposing this custom field and display it in the Power Apps.
Let’s demonstrate a scenario where you would require to have a legacy system purchase order code .
Therefore firstly we need to create a new custom field called “LegacyCode” to the Purchase Order screen.
Right click on the header and then select Add Columns.


Click on create new field icon as shown above.
Then select or enter data in the following fields.
- Table Name
- Name Prefix
- Type
- Label
- Help Text
- Length

Click yes button to proceed to add the field into the PurchTable as shown below.

Once the field is added the following screen will be shown.

Navigate to the path : System Administration > Setup > Custom Fields
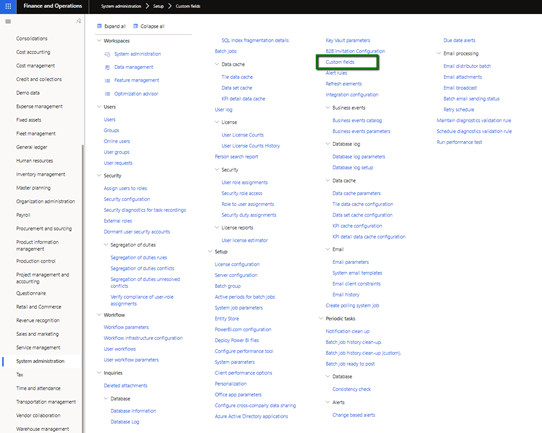
Select the respective table from custom fields form. In this example it is “PurchTable” and then you would see the newly added field “LegacyCode” then proceed to edit the entities and select which entity/entities you would require to add the field.
Once the above step is completed then click “Apply Changes”.

Add in the newly created field to the grid and then save your view.

You can use office integration capabilities and use Excel Data Connector add-in and upload the data. In the below example I have manually updated the field value.

Proceed to Power Apps (https://make.powerapps.com/home) and then select Canvas App from blank option and proceed to create new app.

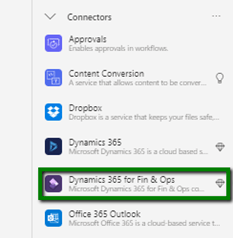
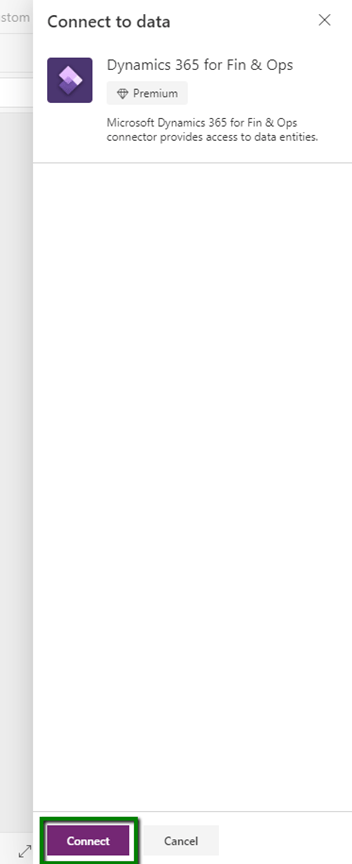
Select the connector as “Dynamics 365 for Fin & Ops”.
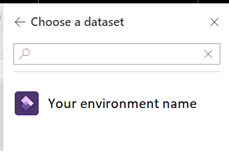
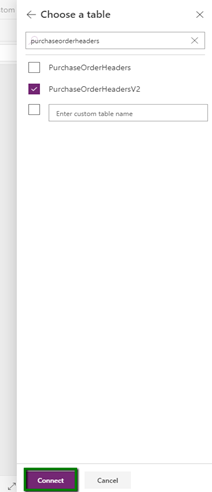
Choose your dataset and then choose the respective table in our scenario “PurchaseOrderHeadersV2”.
Add a gallery and select the data source.

Add in the Text fields “Purchase Order” , “Legacy Code” and “Approval Status.
Add in a Text input control and then set your “Items” control expression as shown below for the Gallery.

I do not go through how to change the User Interface in this blog post. Maybe in a future blog I’m looking forward to cover that part.

Below is the quick video walk through of this blog post. 😊
Hope you will enjoy this new feature and let me know your feedback. 😊
If you have missed out the previous episodes please check out below.
- EP8 – Advanced Filtering in Model Driven Power Apps
- EP7 – D365 FinOps 10 Tips in 10 Minutes
- EP6 – AI Builder and D365FO
- EP5– Rebate Power App with D365FO
- EP4– Business Events with Dynamics 365SCM
- EP3- How to create Manual Trigger Flow with D365 SCM using Power Automate
- EP2– Power Virtual Agents with D365 SCM

9 thoughts on “How to expose custom fields on data entities – EP1”